Why Your Finish Should Always Encase Your Inlay
If you’re making inlay rings and you’re building up your material over the top of the ring, then sanding it back to flush, polishing, and finishing from there — you’re cutting corners that will cost you in the long run.
Every quality ring maker I know either cuts their inlay back beneath the surface or inlays intentionally below the surface and applies finish over the top. And for good reason. It’s not just a durability move — it’s a professionalism move.
Here’s why your inlay should always sit beneath a solid finish layer.
🔒 1. Protection from Moisture, Oils, and Impact
There’s almost nothing that will ruin a ring faster than moisture — it’s the natural enemy of an inlay. Oils and impacts aren’t far behind.
Leaving your inlay exposed (flush or proud) means it will:
- Soak up water, sweat, and oils, which degrade your adhesive
- Be vulnerable to impact and dislodging
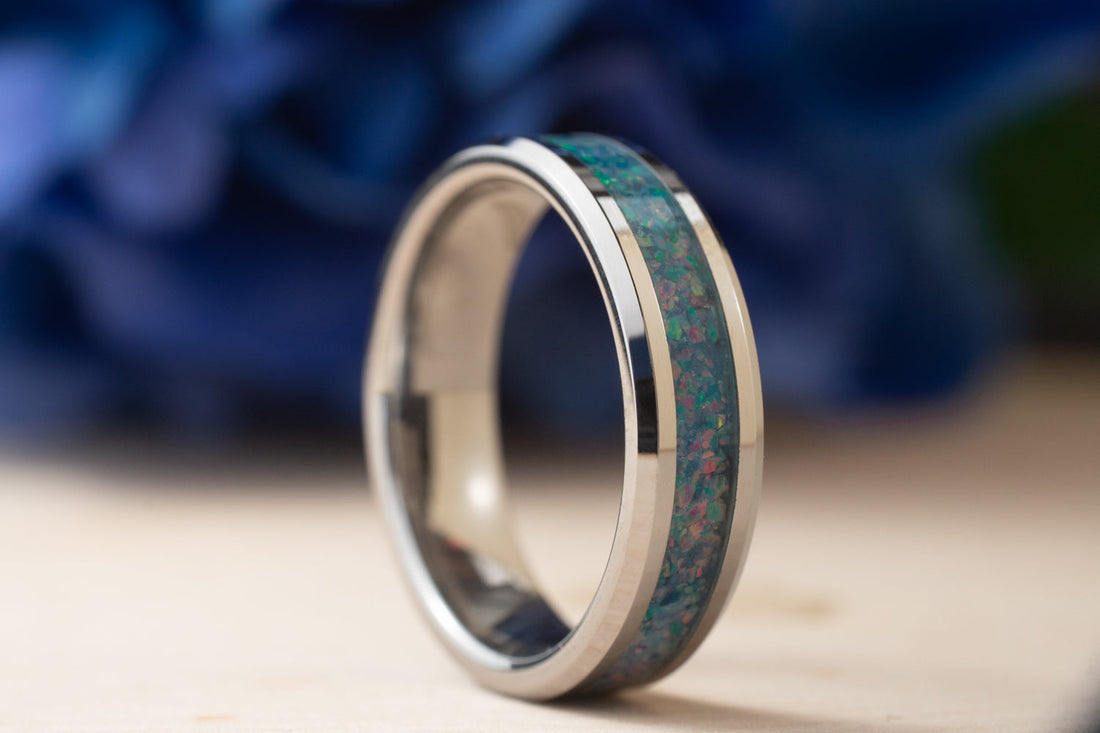
A flood coat of CA or resin seals your inlay in a protective shell. It transforms fragile components into a single, unified surface — and that’s what keeps your rings looking clean 6 months or 6 years down the road.
Some people say that stabilizing the material with CA will lock it in.
But if it’s not fully encased, you’re still relying on a flush joint between raw material and finish. What happens next is separation — caused by contact with the outside world and the natural expansion/contraction between the finish and the inlay.
Microscopic cracks form. Moisture gets in. From there, it’s just a matter of time before your materials start falling out.
🪞 2. Polishing Without Frustration
You can polish CA to a mirror finish.
You can’t do that with exposed crushed stone or raw opal.
Not to mention the wasted time sanding and grinding everything back down to flush if you’re piling it high.
If your inlay sits below the ring shoulders and gets flooded over with finish, you’re polishing a single, unified surface. That means:
- A consistent glass-like shine that elevates your rings
- A repeatable sanding and polishing experience across every design
- An inlay that always looks “wet” and shows off its best color
- A deep, glassy finish layer that adds visual depth
- A ring that’s essentially water-proof
🧱 3. Professionalism — and Fewer Support Issues
Let’s call it what it is:
- A ring with raw inlay might look “cool”
- Then your customer’s finger oils, lotion, or dish soap ruins it
- Then they email you
- Then you’re remaking the ring for free
You know who you don’t hear from?
Customers whose rings were finished properly — sealed under a clear, durable topcoat.
The only thing they might need from you is help re-polishing the finish — and even that’s rare.
If you want to scale your ring sales, or just protect your own work, bury your inlay slightly and finish over it. That’s the pro move.
🛠️ So How Should You Do It?
There are two good options:
Option 1: Cut Back After Inlay
Fill your inlay slightly proud, then turn or sand it back down 0.5–0.7mm beneath the shoulders before applying finish.
Option 2: Inlay Below Surface from the Start
Use finer particles to pack it in low. Tap to settle, remove excess material from the top, and apply thin CA to lock it in. Cure it, then build up your finish from there.
Go slower. Use finer material particles. Be intentional in your placement.
Either way — your finish should sit above the inlay, proud of the shoulders, and get sanded and polished last.
🧠 Final Word
There’s no reason to leave your inlay exposed unless you’re rushing a shortcut — or you’ve been taught wrong.
A solid finish layer over your inlay is one of the few “pro-level” habits that makes a visible difference every time.
Customers may not always notice what you did — but they’ll definitely notice when you didn’t.
-Thomas
www.BentwoodRingSupplies.com
P.S.
Looking for inspiration or curious how these techniques look in finished designs?
Visit Form & Forge Designs to see rings made with the same materials and methods used here.